How to make a duck whistle
Mar 15th, 2011 | By admin | Category: News, Shop TalkHere you will find a complete tutorial on how to turn a duck whistle. Not every call maker does it the same way, therefore this is the method that I use.
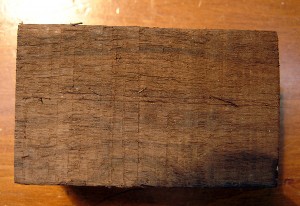
I start by cutting my blank to a length of 3″. I will actually only be using 2 13/16″ of the blank for the barrel, but I like to leave plenty of room to take my parting tool and square up the ends while it is mounted on my lathe.
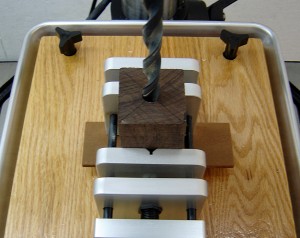
The 3″ long blank is now mounted into my vise and I drill a 1/2″ hole all the way through the center of the blank.
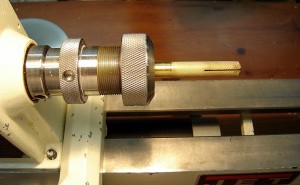
I use a 1/2″ mandrel to mount the blank onto and mount it into my collet chuck.
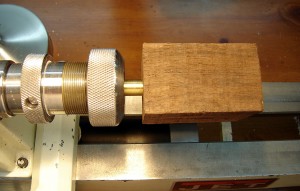
The blank is now mounted onto the 1/2″ mandrel.
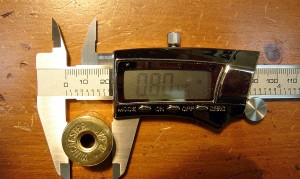
I measure the outside of the 12 guage shell head in order to know what size to turn the blank down to.
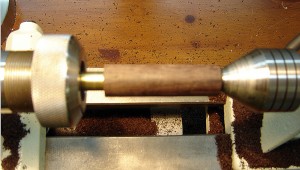
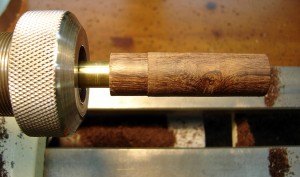
The blank is turned down to the size of the shell head.
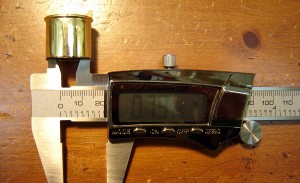
Measure the length of the head in order to determine the size of the tenon that needs to be cut.
Measure the inside of the head in order to determine the tenon size needed.
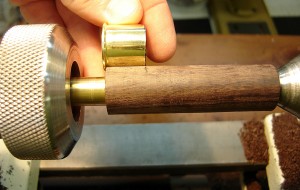
The tenon has been cut on the blank.
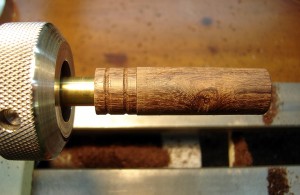
Two shallow grooves have been cut in the tenon in order to add strength when the glue is applied.
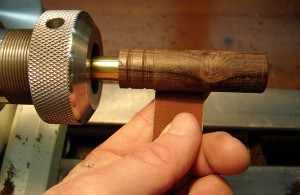
Sand the barrel using 600 grit first and them proceeding to 800 grit. I always stop the lathe and sand lengthwise to the barrel after each grit.
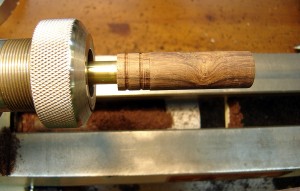
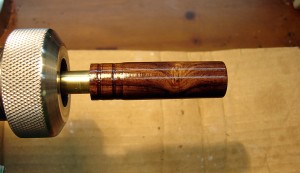
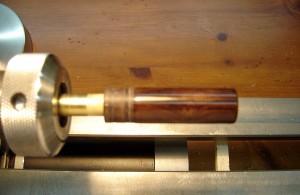
Barrel after sanding is complete.
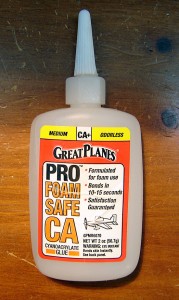
I use Medium CA glue as a finish on all of my wood calls. Note that this one is “odorless”.
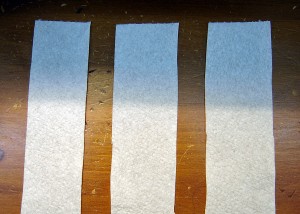
I cut Bounty paper towels into small strips and fold them several times to use as an applicator for the CA glue.
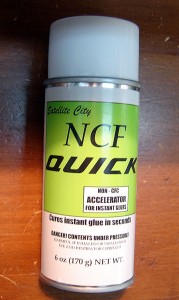
This is the CA accelerator that I spray on the barrel after each coat of CA. It dries the glue instantly.
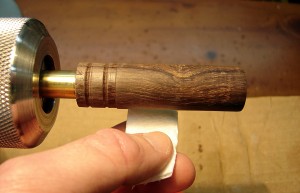
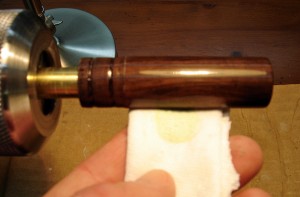
The CA glue is now being applied to the barrel.
The CA finish has now been applied to the barrel. I used 6 coats on this one. Notice the marks that is left from applying the CA with the paper towel… No Worries as once it is wet sanded, they will disappear!
The barrel has now been finished with CA glue and is now ready to be wet sanded.
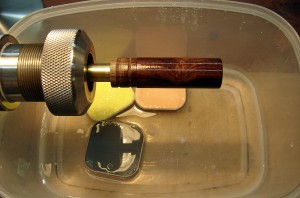
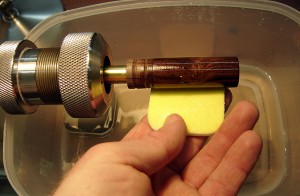
I use the plastic finishing kit for pen turners that contains perfect size pads for wet sanding. Each color on the pads represents a different grit. They range from 300 grit to 12000 mm. Caution: Do Not apply any excessive pressure to the pads when sanding. Let the pads do the work? Also, only use them for a brief amount of time and keep them wet!
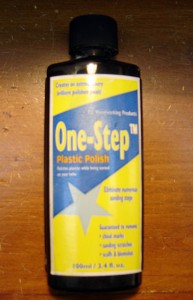
One Step Plastic Polish is what I use for polishing.
Apply One Step and polish using a small soft cloth.
The polish is complete and I have lightly sanded the tenon area in order for the glue to adhere better.
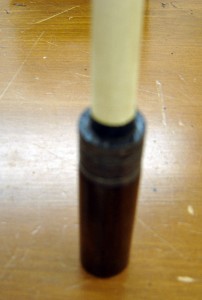
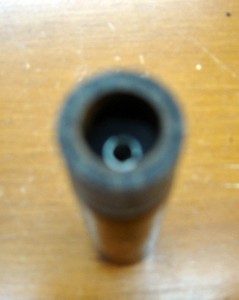
Reed assembly being placed into the barrel.
I use a 1/2″ wooden dowel to press the reed assembly into the barrel.
Reed assembly pressed into the barrel. Note: the distance that the assembly is pressed into the barrel will affect the tone.
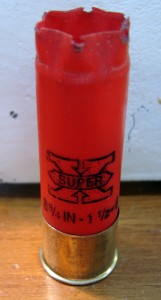
The shotgun shell that I typically use.
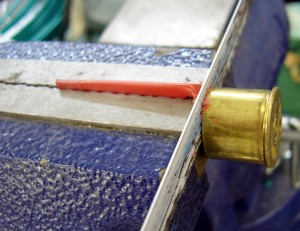
The casing is placed into the vise.
I use a hacksaw in order to cut the head from the hull.
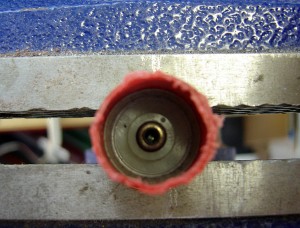
The inside view of the head after it has been cut.
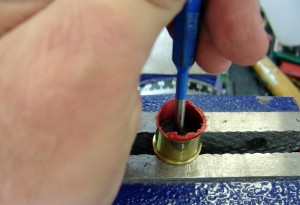
Using a punch to remove the primer.
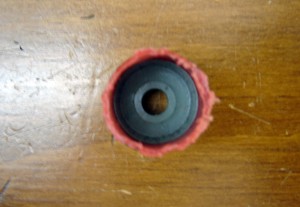
Inside view after the primer has been removed.
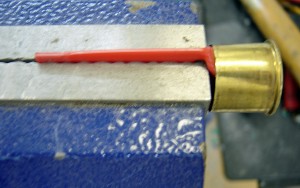
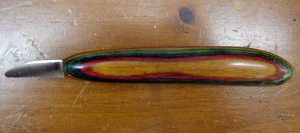
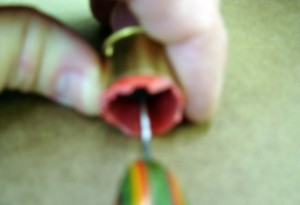
I use a carving knife to cut the tube in four places as shown below.
Cutting the tube in four places.
The tube has four slits cut in it for removal purposes.
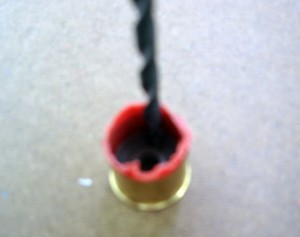
I drill holes in the cushion in order to make the removal process easier.
Holes drilled into the cushion.
Insert needle nose pliers into holes in cushion as noted in above picture, hold the head in one hand and while gripping the pliers in the other hand, twist on remove the cushion.
The cushion is now removed from the head.
Head ready to be mounted onto the barrel. I use 300 grit sandpaper to scuff the inside surface and the apply Medium CA glue to the inside of the head and a small amount into the grooves cut in the tenon.
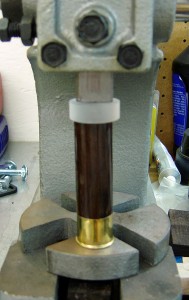
I press fit the head onto the barrel.
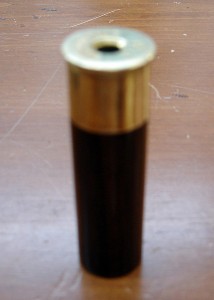
Finished product.

