How to make a duck call insert
Nov 24th, 2010 | By admin | Category: Shop TalkHere you will find a complete tutorial on how to turn a duck call insert. Not every call maker does it the same way, therefore this is the method that I use.
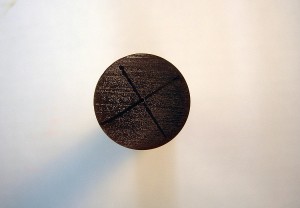
I start by cutting a 6″ piece of 1″ acrylic (I do it the same for wood, antler etc). I then mark the center of each end using a center finder and then use a center punch to make a dimple.
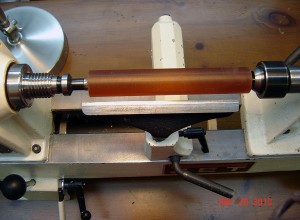
I mount the 1″ x 6″ piece of acrylic on the lathe and turn a 5/8″ x 2″ tenon on the side closest to the headstock so that it will then fit into my collet chuck.
The acrylic mounted in my collet chuck.
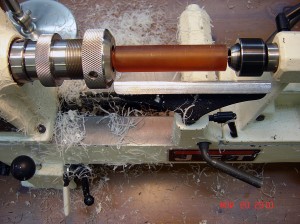
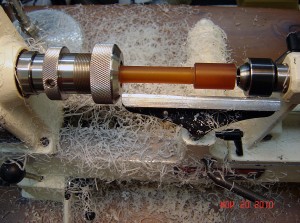
I now turn all but the end piece (of which I am going to shape later) down to 5/8″.
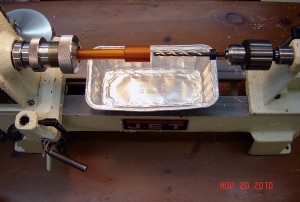
Drill a 1/4″ hole for the tone channel. I mark the distance on my drill bit and use a drill stop collar. I use a pan underneath to catch all of the cutting lubricant that I use.
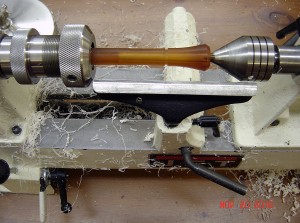
Turn the end piece to your desired shape and cut your lanyard groove.
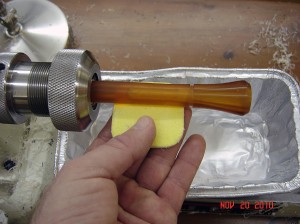
Wet sand the piece using a lot of water and sanding pads from 600 grit to 12,000 mm.
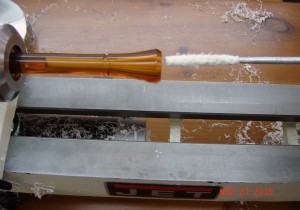
Polish the inside of the insert using a .22 rifle cleaning swab and extension.
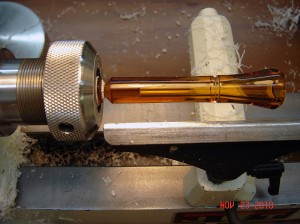
Polish the outside of the insert.
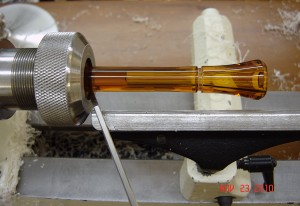
Use a parting tool to cut a deep groove next to the collet chuck.
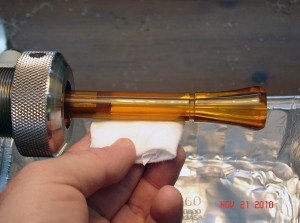
Snap the insert from the collet chuck.
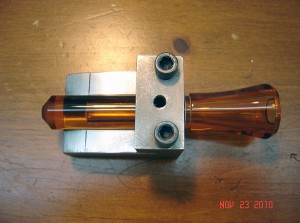
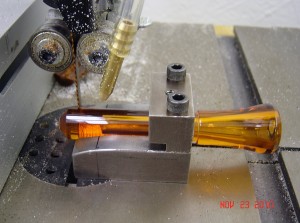
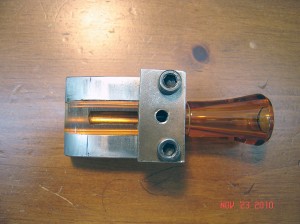
Mount the insert into a duck call jig.
Cut the end and excess material from the jig.
Ready for sanding, polishing and installing reed and cork.

